View imagery with our favourite free satellite imagery viewers
Have you ever tried opening Geotiff satellite imagery files in photo apps only to see a black image or get an error message? Well today is your lucky day, as we have some simple tips to help get you viewing and working with your satellite imagery in minutes.
First thing, what is a Geotiff file?
Satellite imagery suppliers provide imagery in an industry standard Geotiff file format which contains extensive metadata, allowing the imagery data to be utilised for advanced research and scientific purposes. This is one of the reasons why satellite imagery can be such a powerful dataset, but also why it can be tricky to use for beginners as many conventional imagery software products don’t play nicely with Geotiff’s.
Simple Solutions
There are several free software products that allow you to view and work with Geotiff imagery, but we’d suggest Google Earth Pro or QGIS as the best starting points.
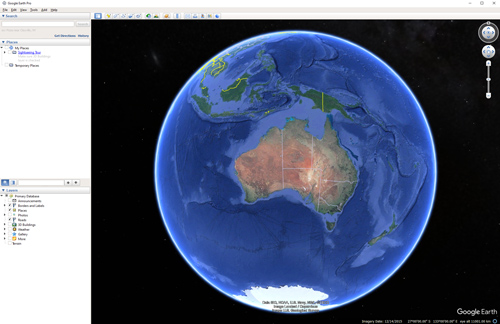
Google Earth Pro
The desktop version of Google Earth Pro is just about the simplest way you can view a Geotiff satellite image file. It also accepts non imagery vector data files, but that goes beyond the scope of this basic tutorial. Google Earth Pro is similar in nature to the normal Google Earth you’re probably used to, except you can import satellite imagery files and work with them much like you would Google maps.
Pros: Easy to use, automatic colour balancing for some imagery.
Cons: Limited functionality, doesn’t work well with all imagery files.
Once you’ve downloaded the desktop version of google Earth Pro here, follow the steps below to open a Geotiff Imagery File:
- On the header bar, click File
- Click Open
- Navigate to and Select the imagery file you want to import
- Click Open

QGIS
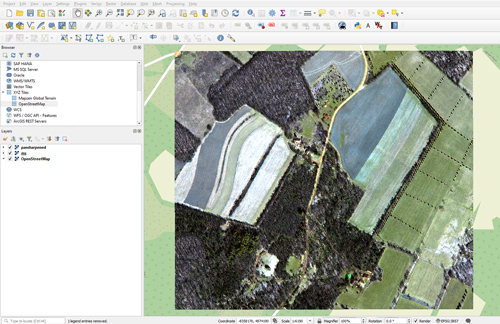
If you want a fully featured Geographic Information Systems (GIS) program for free, then QGIS is probably your best bet open-source option. Packing in advanced capabilities often found in expensive GIS programs such as ArcGIS and ENVI, QGIS provides you with everything you need to start working with satellite imagery data. With more functionality comes more complexity, but a great support community and documentation should get you headed in the right direction.
Pros: Powerful tools and plugins, good support resources.
Cons: Not user friendly, some basic tasks are complicated.
After you install the QGIS app to your desktop, follow these steps to start working with your satellite imagery Geotiff:
- On the header bar, click File
- Click Add Layer
- Select Add Raster Data
- Choose the imagery file you want to import

Viewing an Image
If the file is a multi-layer image (or vrt):
- Open QGIS
- Optionally, add a basemap layer.
- Expand the “XYZ Tiles” section in the browser panel (top left)
- Double click one of the provided tile options
- Drag the file into the canvas
- Explore the imagery
If layers are in multiple files:
- Open red, green and blue layers by dragging into the canvas and let load
- Go to the menu and from the drop down navigate “Raster =>Miscellaneous=>Build Virtual Raster”
- In the dialogue that appears, check “place each input file into a separate band”
- Click the ellipsis to the right of “Input Layers”
- Check the layers that are your individual red, green and blue bands
- Click “run” in the bottom right corner
- The image will be added to your layers. Make sure the bands are stacked RGB in the layers menu on the left hand side.
Have more questions? Find more tutorials here!


